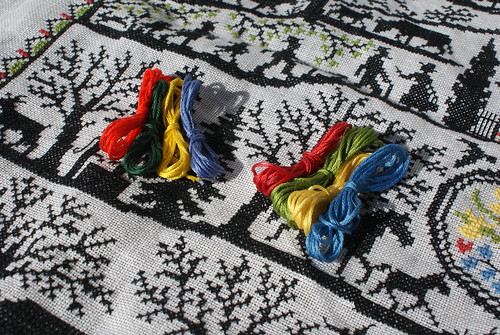
I completed the stitching on my giant cross-stitch project (Silhouette Collage by Eva Rosenstand) just about a month ago. Since then, I've been gathering together the bits needed to frame and mat the piece. This has largely consisted of a 1. keeping the finished cross-stitch piece safe from harm, 2. getting a heavy mat board that is large enough, and 3. finding a decent frame. The finished piece is....in the realm of 16" x 19" if I recall, so I opted for a standard 20" x 24" frame which would allow a fairly even amount of space all around the stitching without being too large or small.
Once I gathered all of these things, I carefully pressed the completed piece. Working on the back of the piece, I measured out from each edge to center it within the frame, and I marked each of the corners and sides with an air-erase marker. This let me place the cut mat on the back, lining up to the marks, and not have to worry about working both sides of the piece at the same time, checking and flipping in order to center.
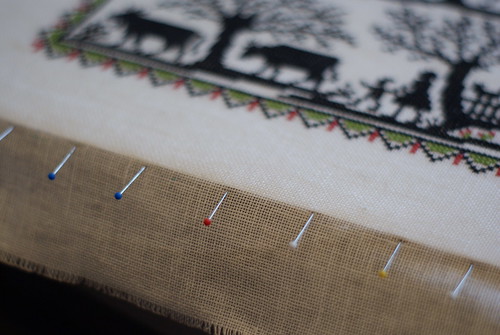
I then worked around and across the piece tacking the edge down with pins, right along the very edge of the mat, using straight pins. The whole process is very similar to stretching a canvas. I would work opposite sides, from the center out, then switch to the other 2 sides. I continued working around and across, adjusting and re-adjusting as I went along. This is the portion of the process that really takes the most time, and it's important that you get it right! Expect to use ~1200 pins.
Once all the sides were pinned, I checked my work, making sure that I had not strained the grain of the cloth too much at any point, double-checking that it was straight and centered, all that little nuisancey stuff. Once I was happy with how things were situated, I flipped over to work on the back.
With needle and sturdy thread, I did large whip-stitches across the back, catching the excess fabric from opposite edges. This is also worked from the center out, in either direction. I added thread as needed, and tightened as I went along (it is similar to lacing a corset, if that helps), and I stopped just shy of the corners.
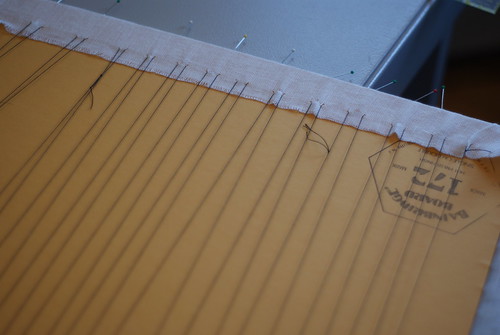
I made sure to do the lacing about an inch in from the edge of the cloth so it wouldn't rip out. This is all done quite messily and hastily.
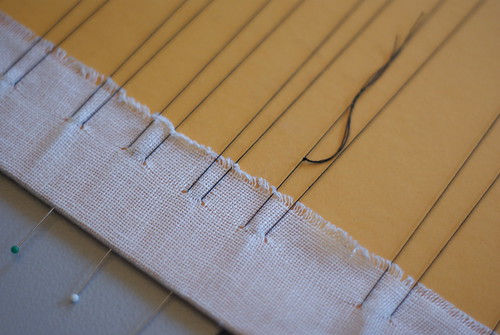
I laced a bit in the opposite direction (sorry, no pictures) and hooked under some of the initial threading to tighten things up a bit. Then I moved on to the corners. Many people will fold the corners down flat, but I prefer to work a mitered corner. I folded the excess cloth in and down, and (again, hastily) whipped together the mitered edges.
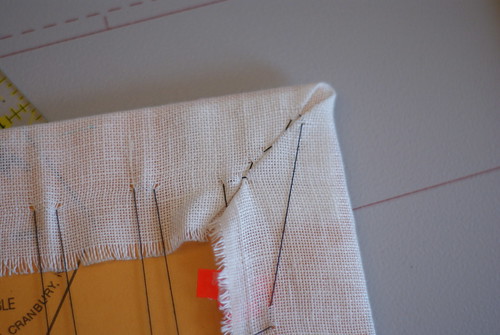
I tied everything off however and wherever I could. Then I removed the pins.....and flipped it over to see how it worked! And it worked out just fine. All that was left was to plop it into a frame and hang it on the wall, and that took just 5 more minutes.

Hooray! Completed, safe, and out for all to enjoy. I'm thrilled with how it turned out.